Laravel Reverb
Installation
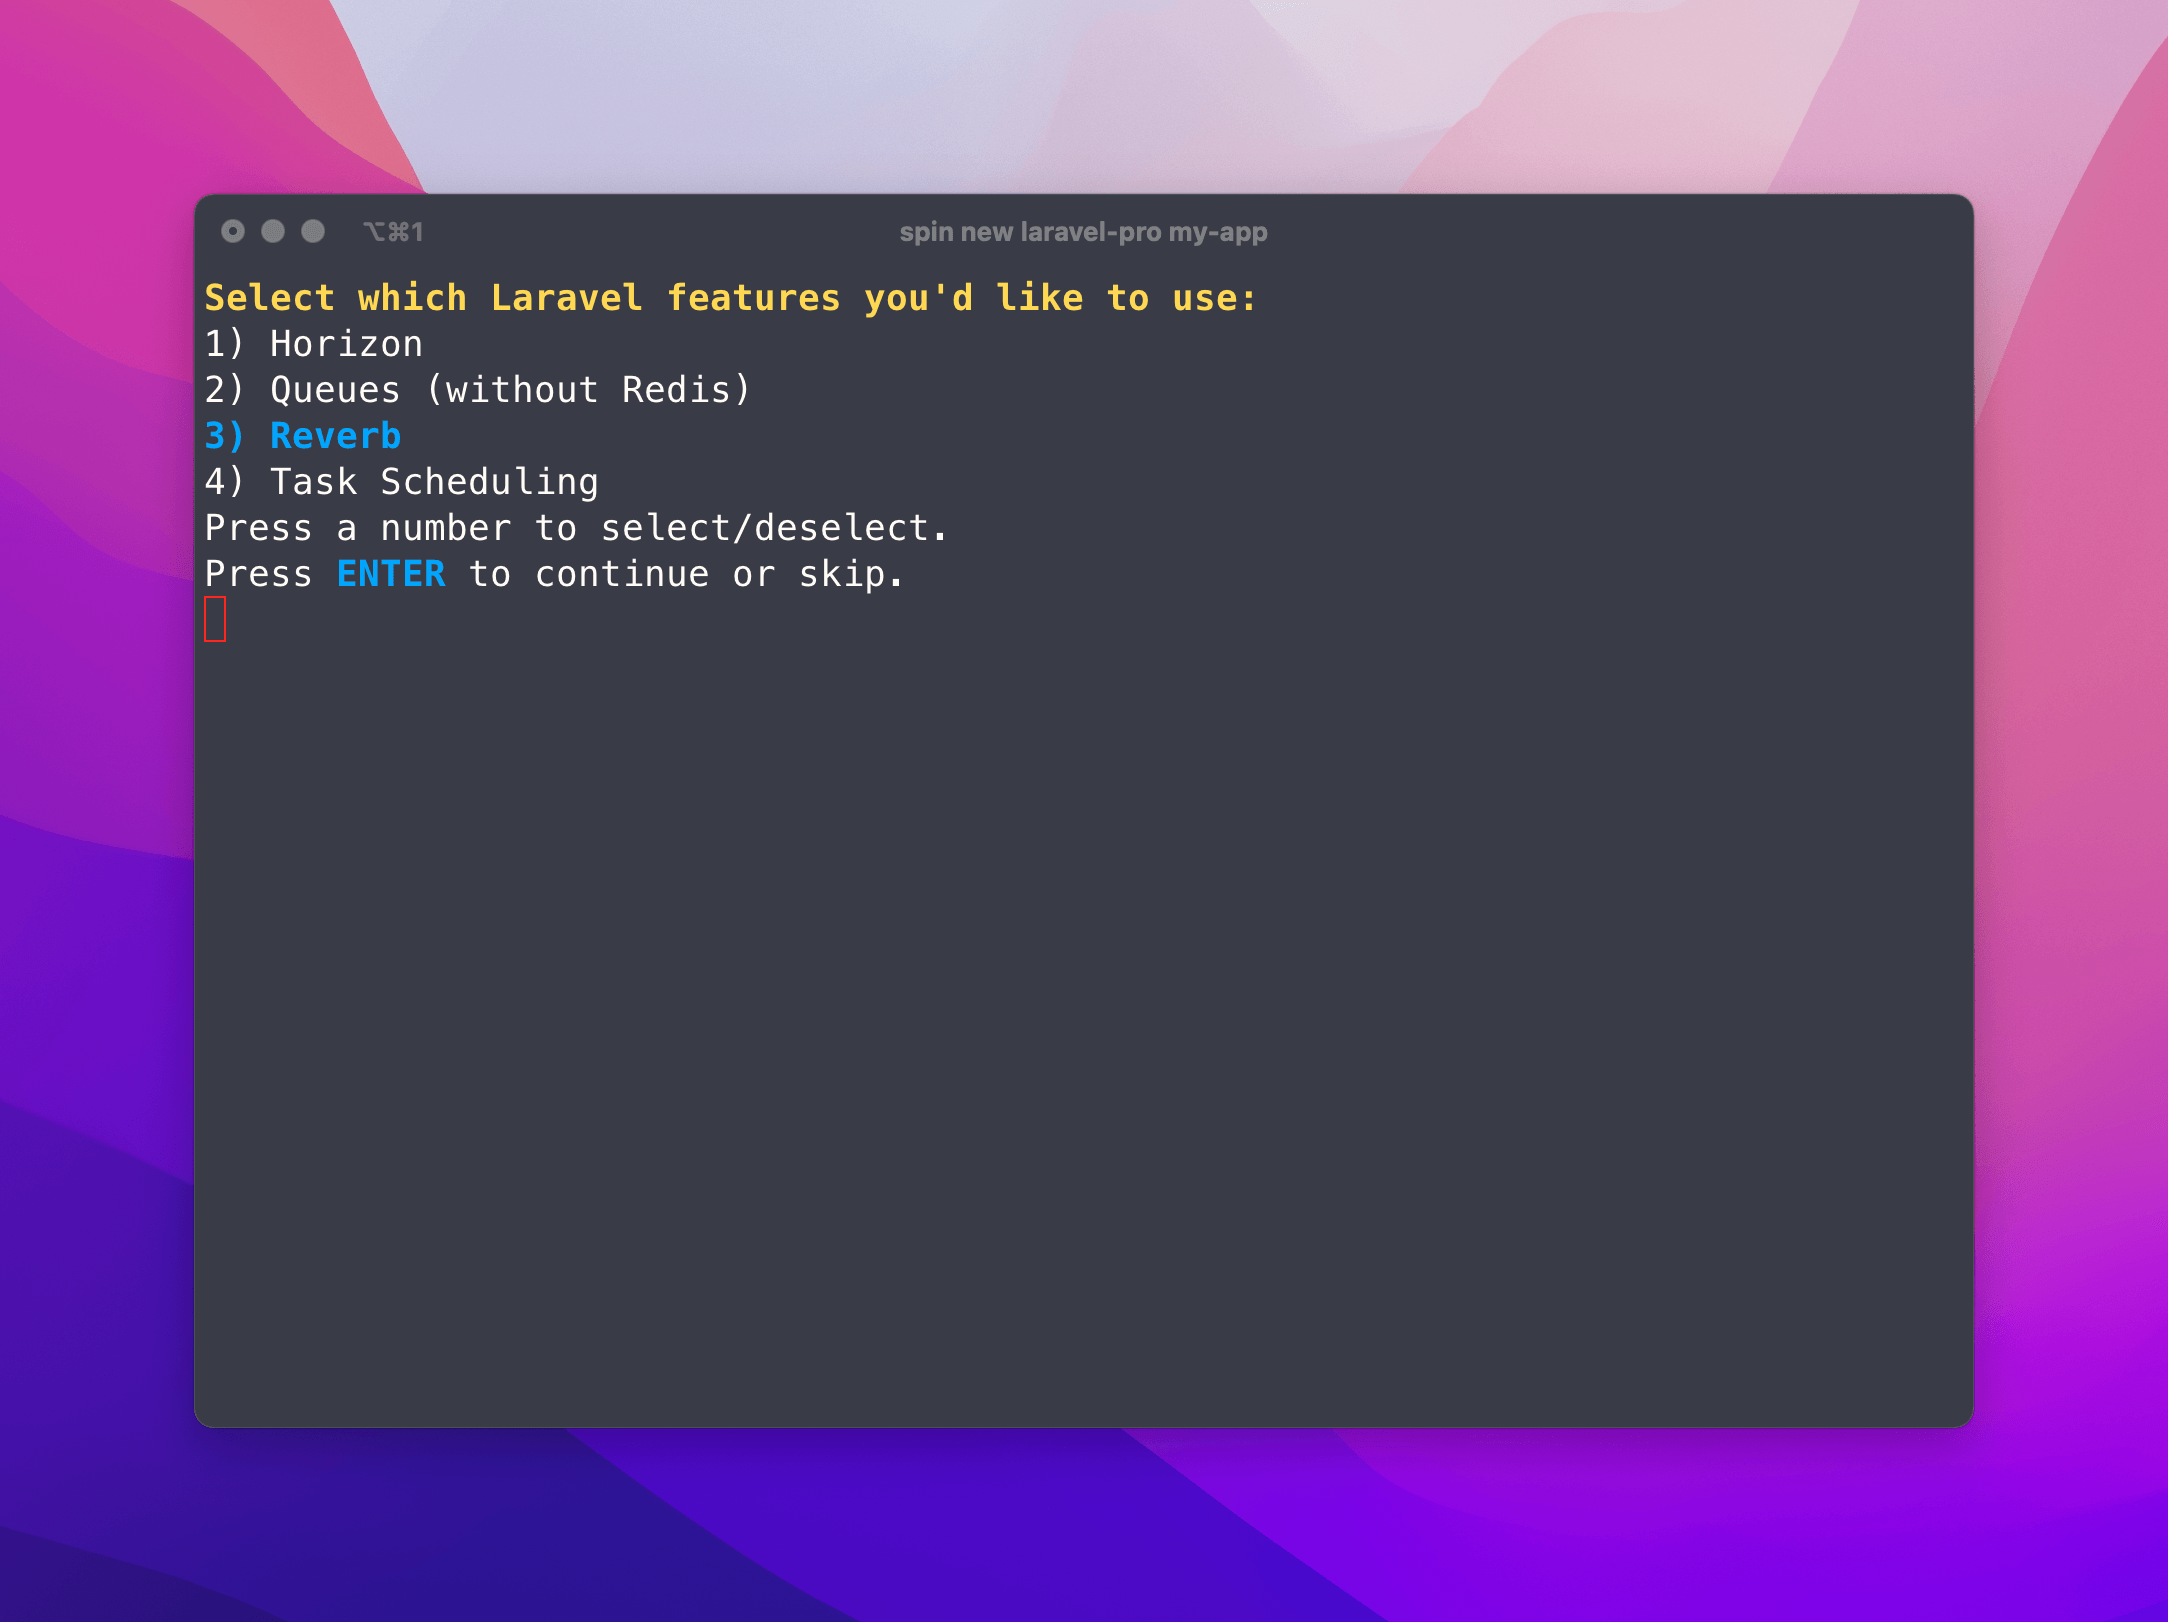
To install Laravel Reverb, you will be prompted to include the Laravel Reverb service on install. You simply just need to select it.
What Spin does for you
When you install Laravel Reverb, Spin will set up a dedicated "Reverb" service for you. By default, the service runs the following command:
php artisan reverb:start
Default Configuration
| Property | Value |
|---|---|
| Development URL | wss://reverb.dev.test |
| Protocol | HTTPS by default |
| Port | 443 |
⚠️ Special configuration notes
When you're configuring your production environment, you will need to set up a DNS entry for your Reverb service. This DNS entry will be different than your server's hostname and your application's hostname. For example, if your server's hostname is server01.example.com and your application's hostname is app.example.com, you could set up a DNS entry for socket.example.com.
This value should be set in your Laravel's environment file (.env) as REVERB_HOST=socket.example.com. You should also go to your DNS provider and set up an A record for socket.example.com to point to your server's IP address.
Usage
CTRL+C to stop the containers and run spin up again.When you run spin up, the Reverb service will automatically run. It will be made available at wss://reverb.dev.test.
Laravel Queues
Laravel Queues are a powerful feature that allows you to defer the processing of a time-consuming task. This guide will walk you through how to use Laravel Queues with Spin.
Laravel Task Scheduler
Laravel Task Scheduler allows you to run scheduled tasks in your Laravel application. This guide will walk you through how to use Laravel Task Scheduler with Spin.